5. Building out Your Products
- Great work so far! However, the application is not looking overly interesting just yet. In this section you will build out the
<Product>component.
Note
Semantic is being used as a styling library which has been linked in your index.html file for you. Therefore, the className reference in several of the
elements below are in fact utilizing classes and styling that is provided by Semantic.
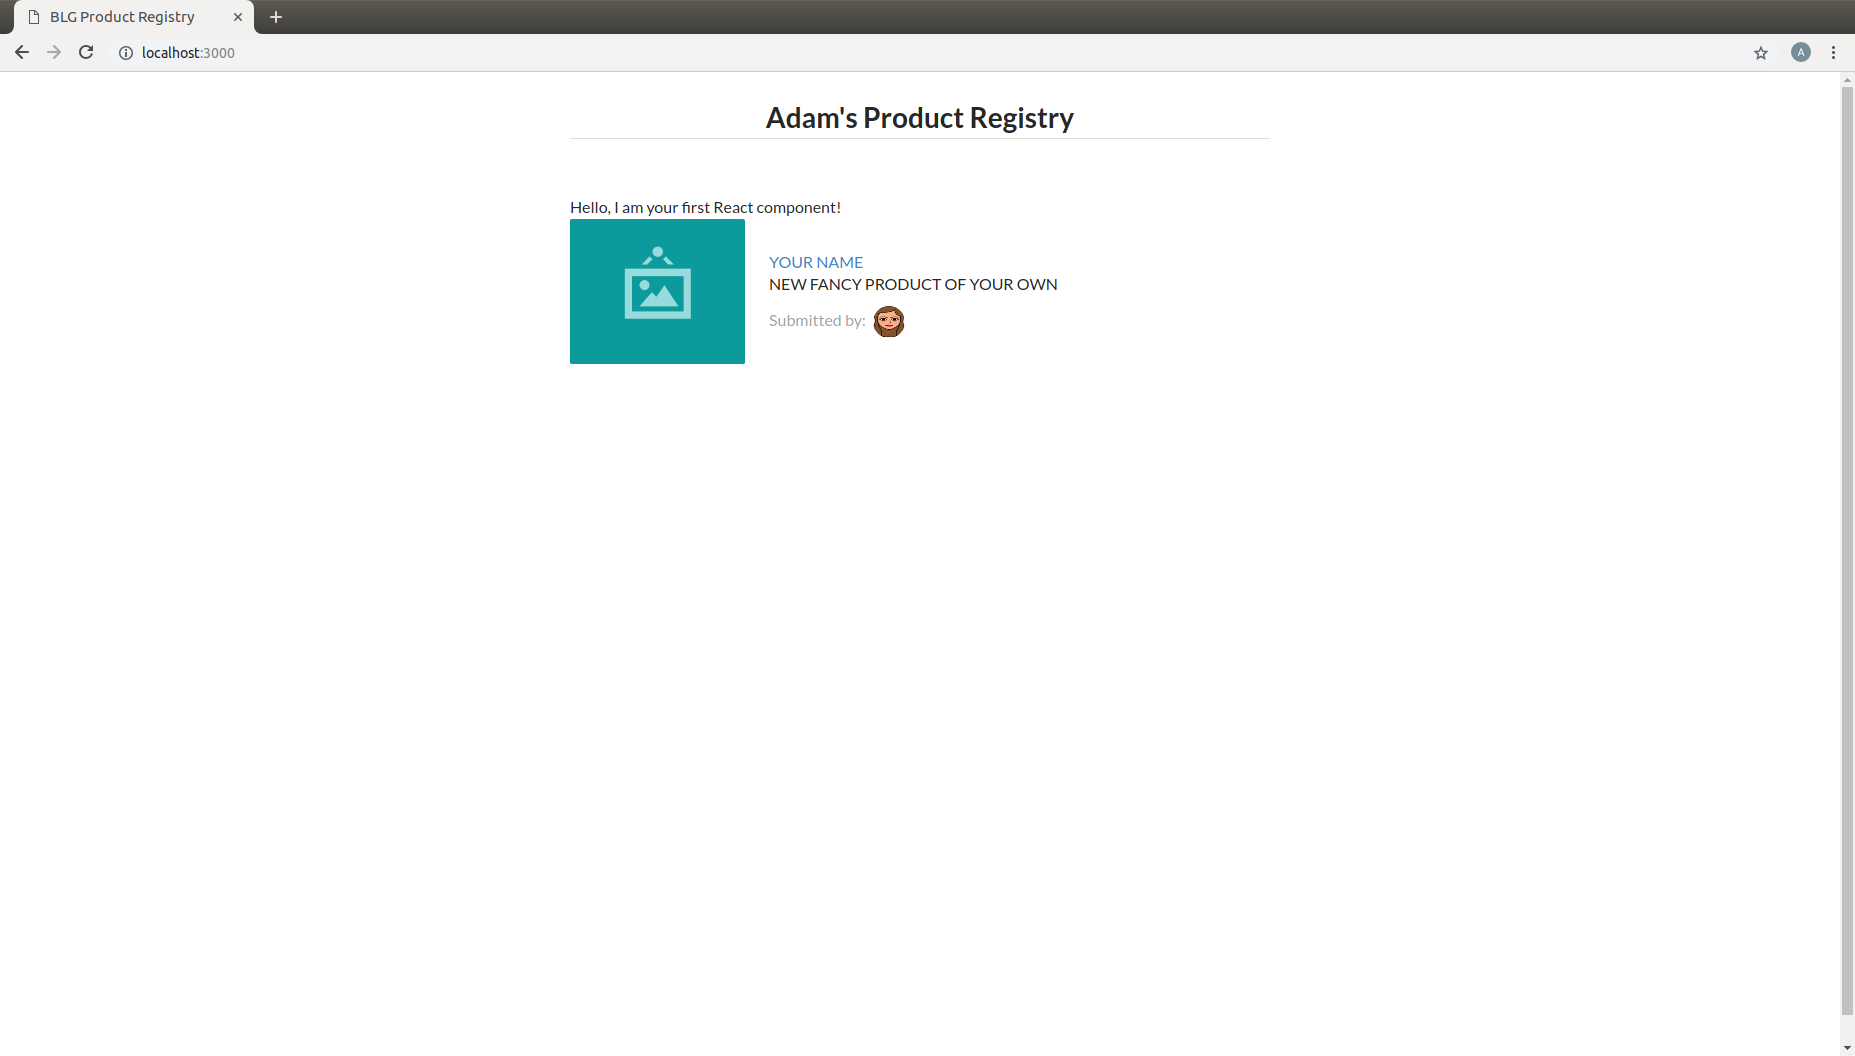
Begin by extending the content that is returned by the component in it’s
render()function. You will add an image, a title, a description, and an image of who submitted the product.class Product extends React.Component { render() { return ( <div className='item'> <div className='image'> <img src='images/products/image-aqua.png' /> </div> <div className='middle aligned content'> <div className='description'> <a>YOUR PRODUCT NAME</a> <p>NEW FANCY PRODUCT OF YOUR OWN</p> </div> <div className='extra'> <span>Submitted by:</span> <img className='ui avatar image' src='images/avatars/liz.png' /> </div> </div> </div> ); } }The image links in the component above map to the images that have been provided for you within the
/imagesfolder.The product image:
<img src='images/products/image-aqua.png' />and the submitted image:<img className='ui avatar image' src='images/avatars/liz.png' />both exist within their respective foldersimages/products/andimages/avatars/, feel free to add new images of your own and update these paths accordingly!