1. Starting the Application
Note
Begin instructions from within the VM(via VirtualBox) that was configured and run in step 6 of the prerequisites.
Open a new terminal window
- Click on the terminal icon in the left dock
Start the app
Change directory into the
blg/product-registry-01folder on the Desktopcd Desktop/blg/product-registry-01Start the server
npm startExample output:
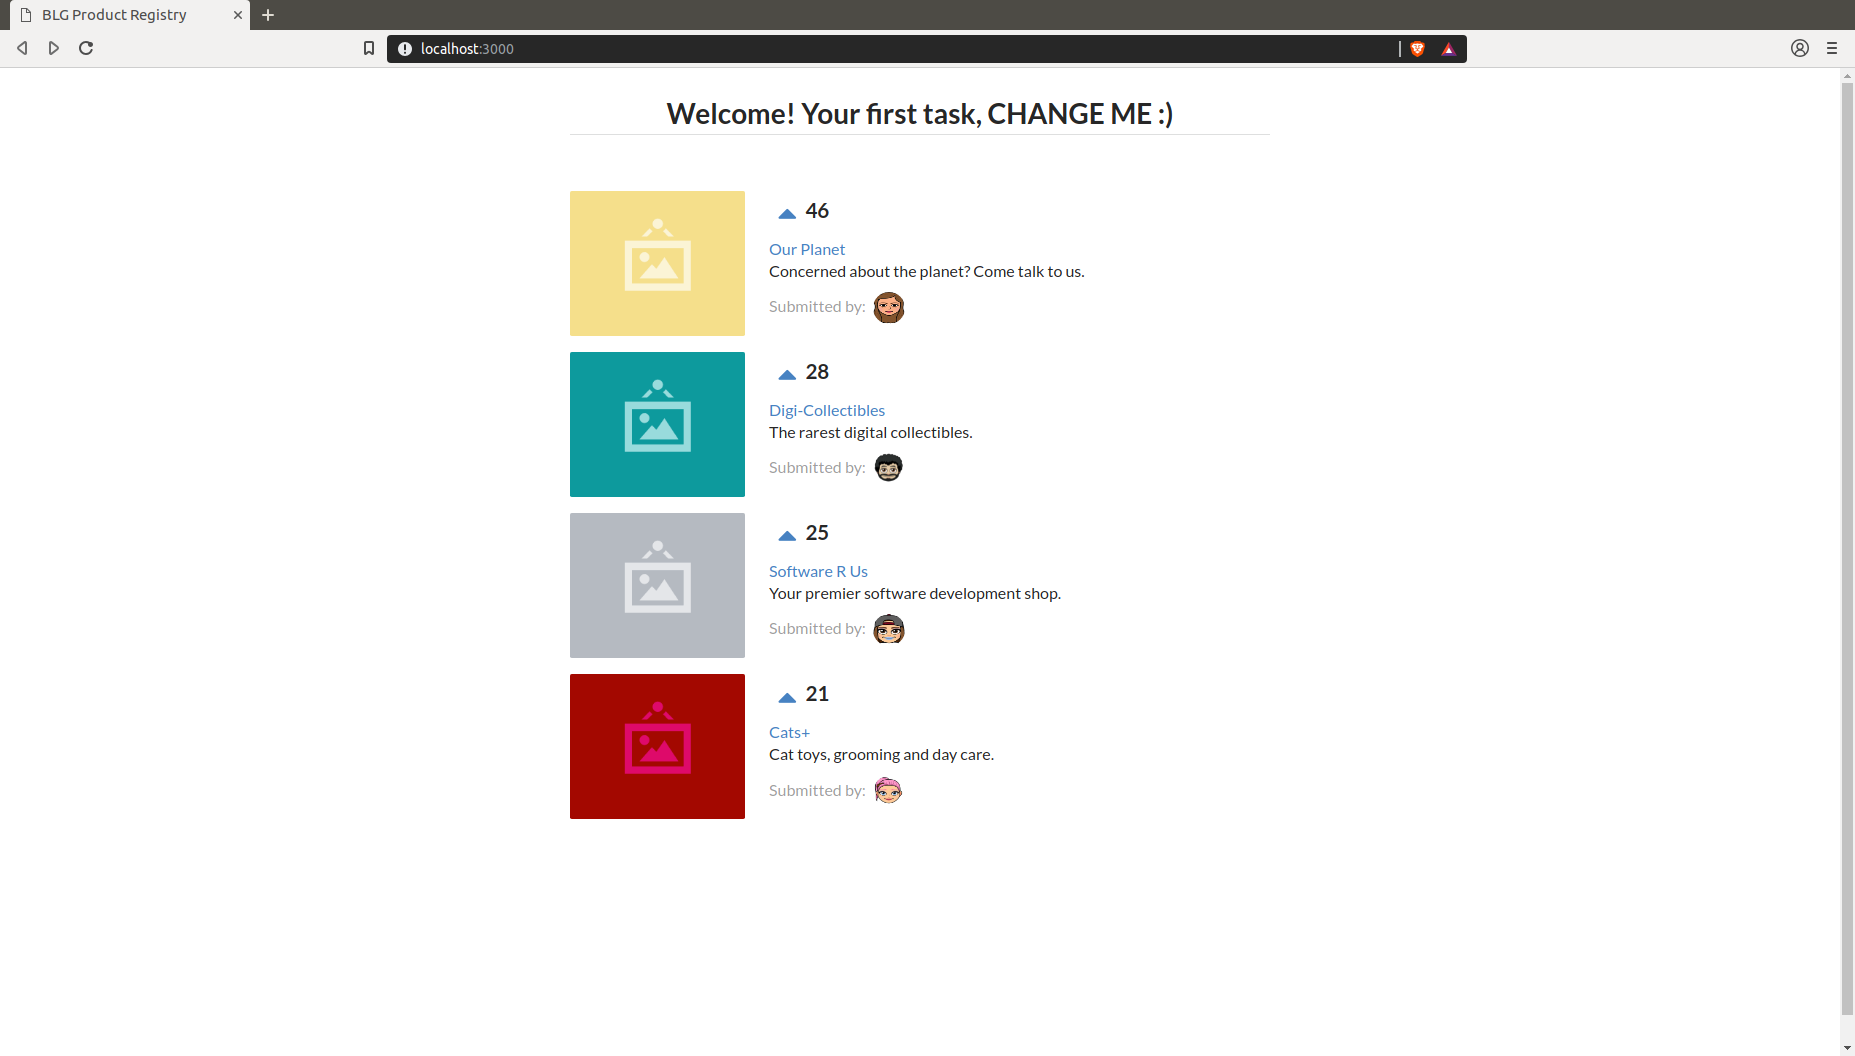
ajl@x1c:~/Desktop/blg/product-registry-01$ npm start

> product-registry-01@1.0.0 start /home/ajl/Desktop/blg/product-registry-01
> live-server --host=localhost --port=3000 --middleware=./libraries/disable-browser-cache.js

Serving "/home/ajl/Desktop/blg/product-registry-01" at http://localhost:3000 (http://127.0.0.1:3000)
Ready for changes
Chrome should automatically be opened and the application rendered! Otherwise navigate to http://localhost:3000 in your browser. You should see some basic text and your first task!
Note
The
npm startcommand that you executed ran thestartscript in the includedpackage.jsonfile:{ [...], "scripts": { "start": "live-server --host=localhost --port=3000 --middleware=./libraries/disable-browser-cache.js" }, "devDependencies": { "live-server": "https://github.com/acco/live-server/tarball/master" } }This ran a very light-weight server that will host the code for your browser to access. The server will also detect changes in the code base and automatically re-render the browser. Therefore you will not need to restart the server at all during development and every time that you change and save a file the browser will render the updated page for you.